
The complete guide
All 5 steps, together.
A subcutaneous injection in 5 easy steps.
Before you begin
- Wash your hands thoroughly and dry them completely.
- Wipe the injection area with an alcohol swab.
- Let the area dry before injecting.
Know your injector
Part A is the front of the injector; Part B is the back. The depth must always be set to G — turn the nozzle counter-clockwise to adjust it.
Step 1 of 5
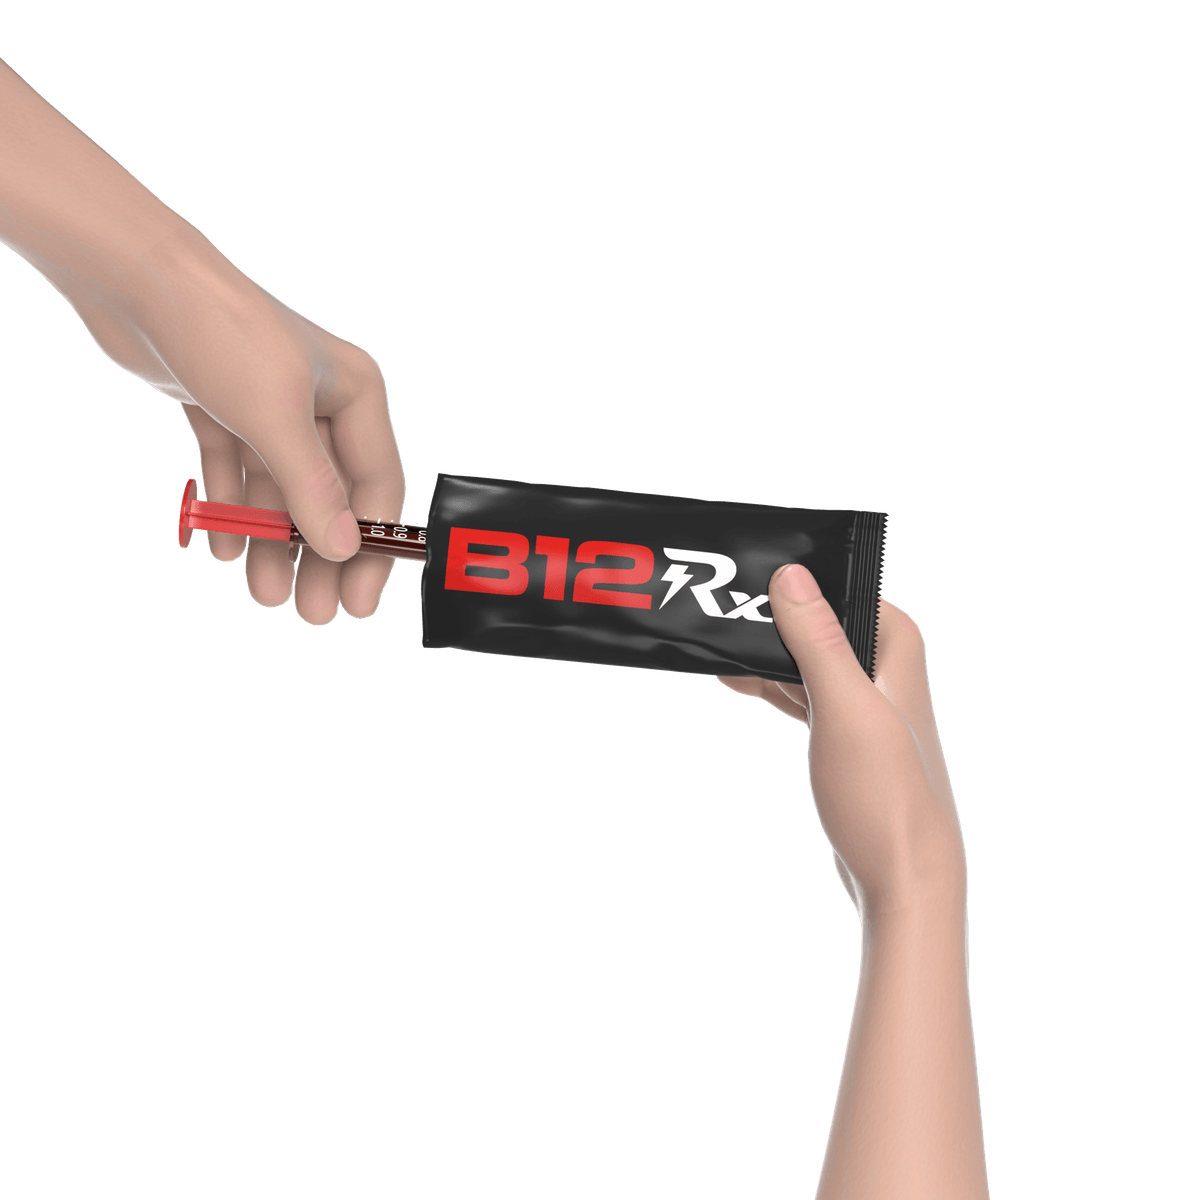
Unpack your kit
Everything you need is in the sealed pouch.
- Your kit comes assembled, with individually prefilled injections in a sterile, vacuum-sealed pouch.
- Unpack the needle and remove its protective wrapping.
Step 2Attach the needle Step 2 of 5
Prepare the syringe
Remove the syringe cap and attach the needle.
- Hold the syringe firmly and twist its cap counter-clockwise to remove it; discard the cap.
- Insert the syringe into the back end of the needle and twist clockwise until secure.
Important: Leave the needle's cap on until Step 4 — the needle is extremely sharp.
Step 3Engage the mechanism Step 3 of 5
Engage the firing mechanism
Push Part A up until you hear a click.
- Confirm the depth is set to G — turn the nozzle counter-clockwise to adjust it.
- Unscrew Part A counter-clockwise from Part B.
- Place the tip of Part A against the plunger inside Part B and push firmly up into the injector body until you hear a click.
- Set Part B aside.
Step 4 of 5
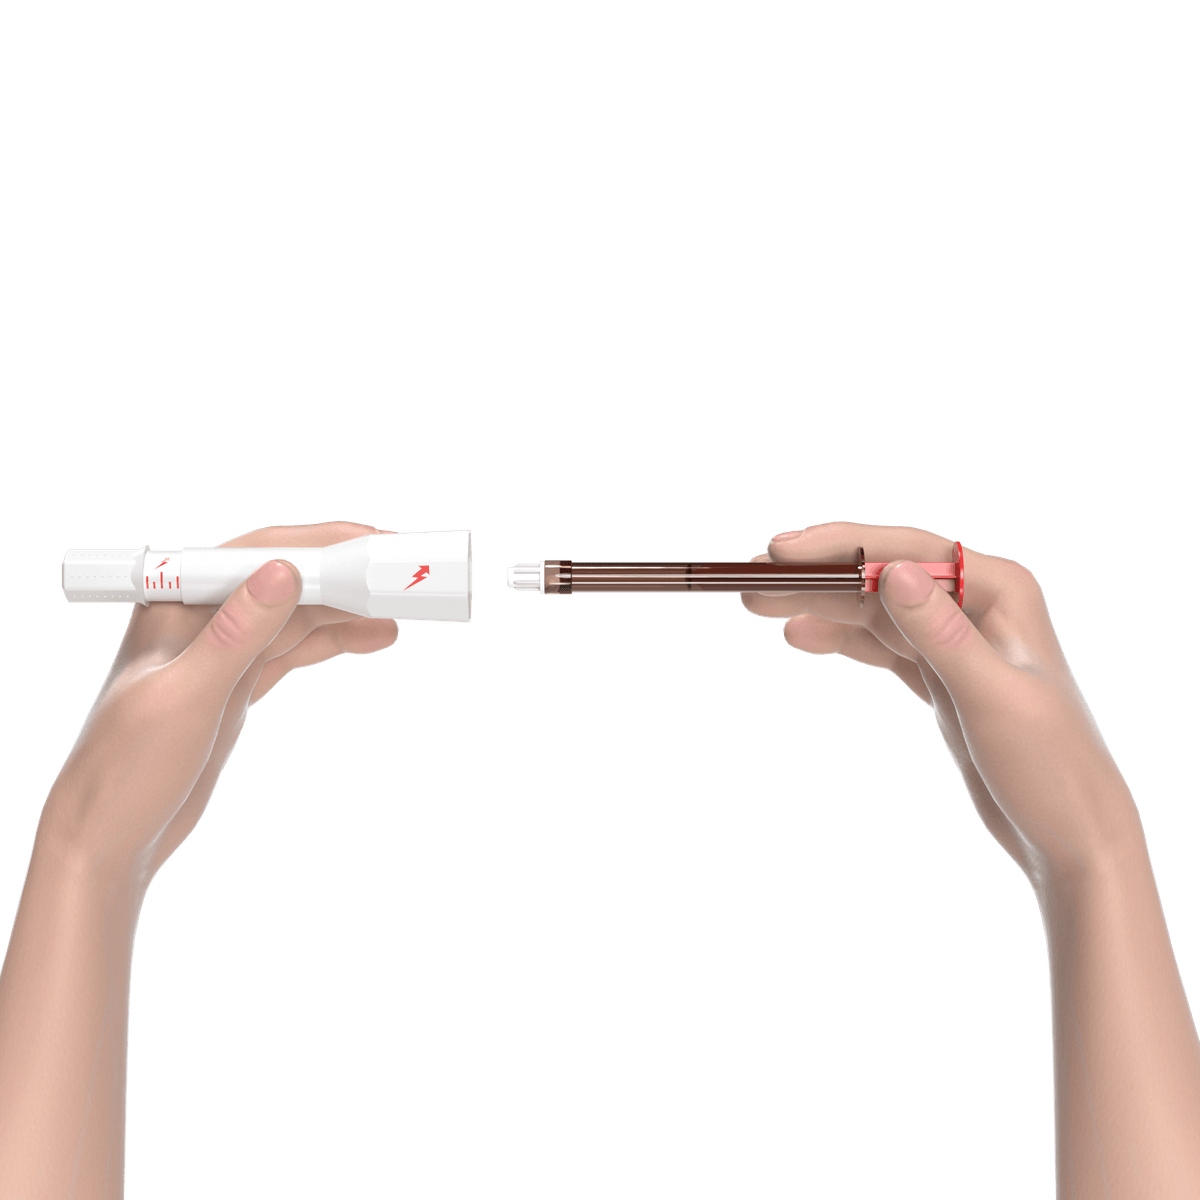
Insert the syringe
Load the uncapped syringe — hands off the firing button.
- Remove the needle's cap, then gently insert the uncapped syringe into the large end of Part A.
- Gently insert the syringe's plunger into Part B — do not touch the firing button.
- Screw Part A clockwise back onto Part B — do not over-tighten, and do not touch the firing button.
Step 5 of 5
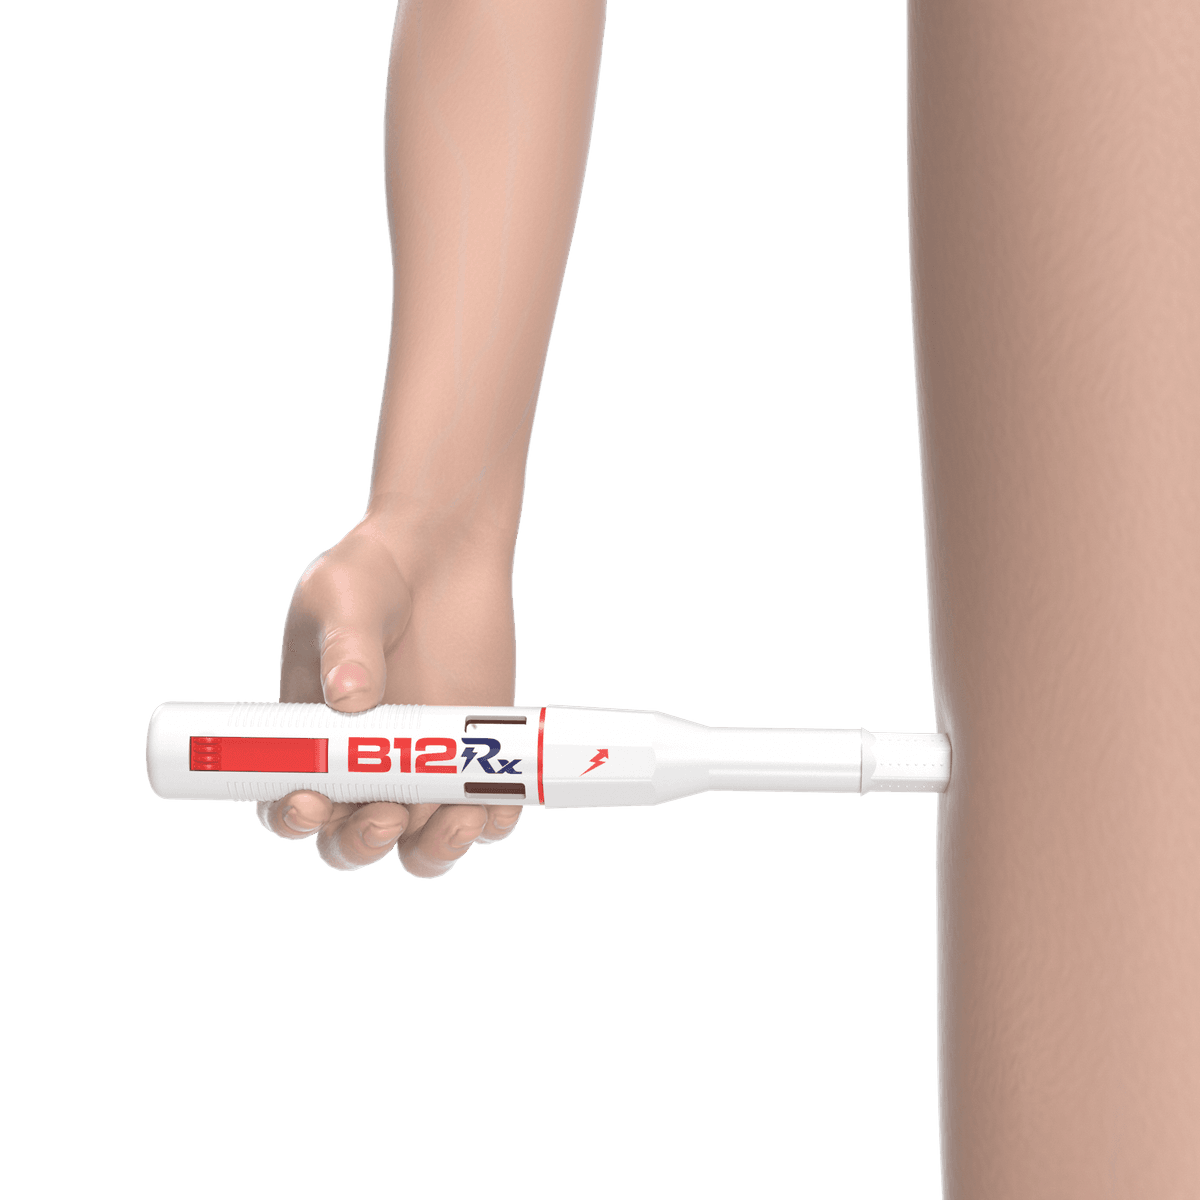
Inject your B12
Flat against the skin, press, and hold 5 seconds.
- Choose a site: arms, legs, or lower abdomen. Subcutaneous means the fatty layer just under the skin.
- Place the injector flat against the skin and press lightly until the red indicator disappears — that releases the safety interlock.
- Press the firing button and hold the injector against the skin for 5 seconds.
- The injection is complete when the yellow indicator has stopped.
After your injection
- Dispose of the used syringe in a sharps container — never in household trash.
- Rotate injection sites.
Troubleshooting
No click in Step 3?
Keep Part A straight against the plunger and push firmly.
Red indicator won't disappear?
Hold the injector flat with steady pressure.
Device damaged or looks wrong?
Don't use it — contact support.
We're here to help